
Beginner’s Sourdough
Prep about 3 hours · Bulk ferment 3–4 hours · Cold proof 12–18 hours · Bake 45 minutes · Cool 1 hour · Total about 20–26 hours · Makes 1 loaf
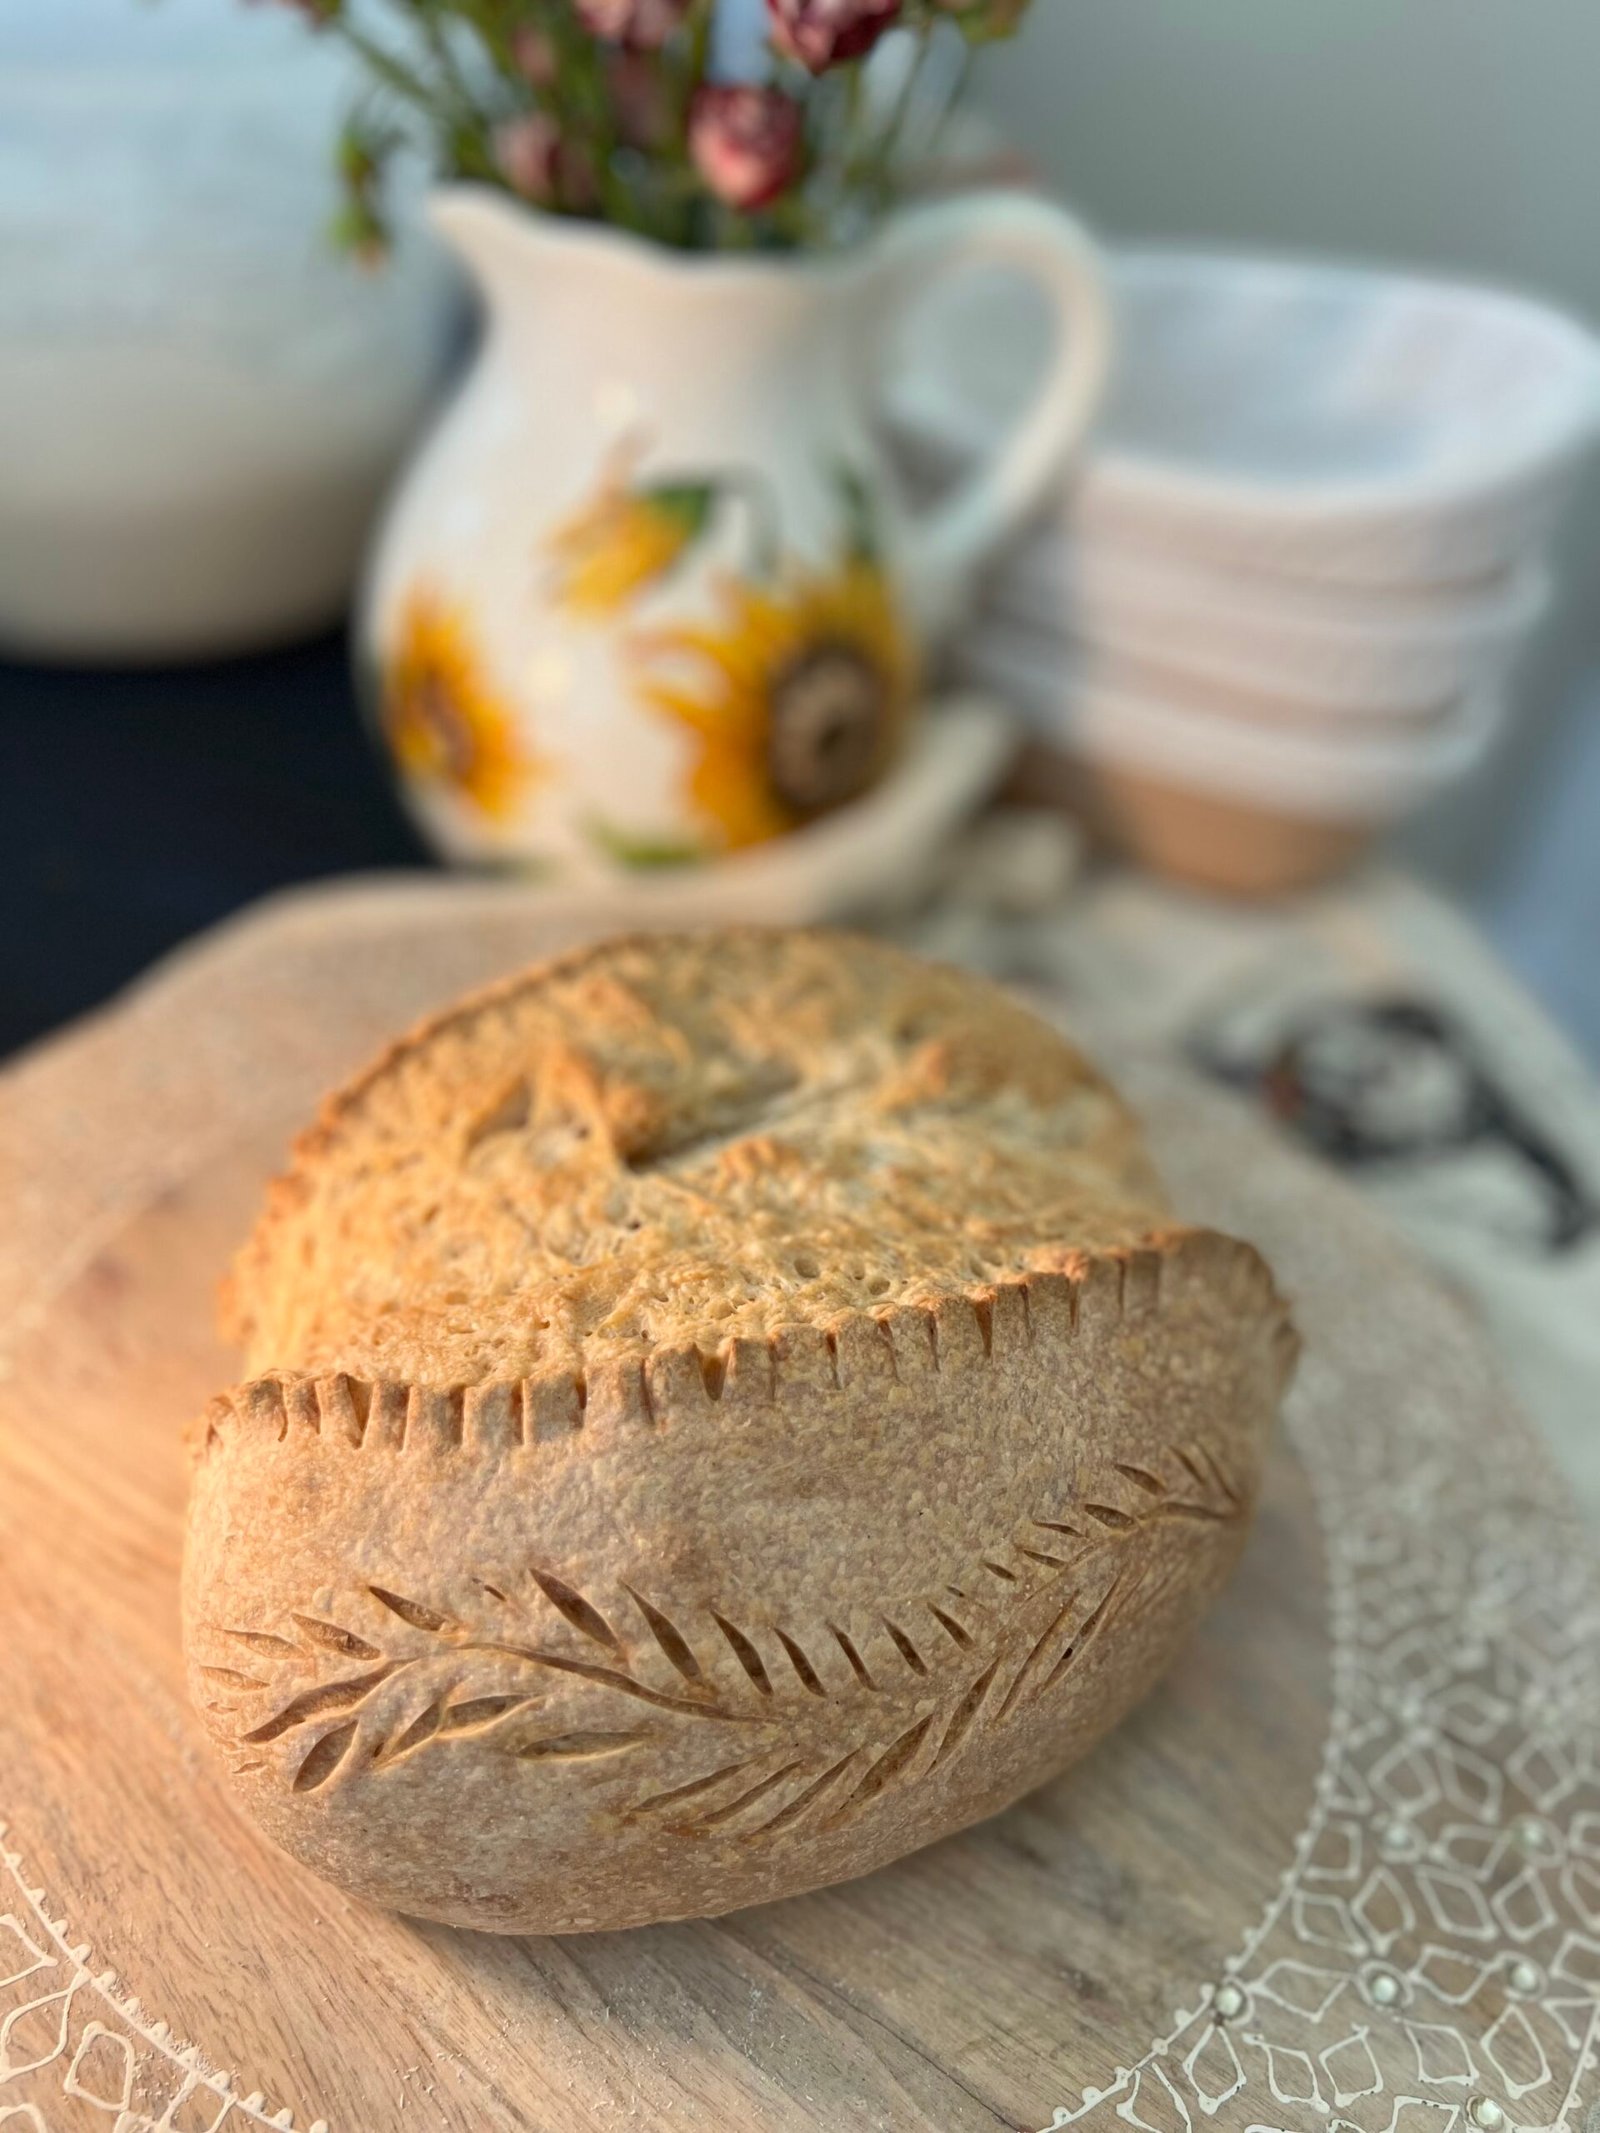
A simple, reliable loaf to get you started on your sourdough journey. Crusty on the outside, soft and tangy on the inside.
A SHORT HISTORY OF SOURDOUGH
Sourdough is the oldest way of raising bread there is. Long before anyone understood what was happening, bakers in ancient Egypt noticed that a bowl of flour and water left sitting out would begin to bubble, and that dough made from it rose into something lighter, tangier and better tasting than flatbread. What they had captured, without knowing it, was a living culture — wild yeast and lactic acid bacteria drawn from the grain itself and the air around it.
For thousands of years every raised loaf on earth was made this way, with a piece of yesterday’s dough carried forward into today’s. Prospectors in Gold Rush California kept their starters so close, tucked inside a coat on cold nights, that sourdough became a nickname for the miners themselves. Starters were passed between families and down generations the way recipes are. The culture in our kitchen works on exactly the same principle: feed it, and it carries on indefinitely.
WHY SOURDOUGH SITS EASIER
The difference between sourdough and a quickly raised loaf is time. This dough ferments for the better part of a day, and across those hours the wild yeast and bacteria in the starter are quietly doing work your digestive system would otherwise have to do itself.
They break down a portion of the starches and sugars in the flour long before the loaf reaches the oven — partially digesting them for you, which is why so many people who find bread heavy going get along with sourdough perfectly well. The same slow fermentation reduces phytic acid, the compound in grain that binds up minerals like iron, zinc and magnesium, leaving more of them available to your body. Studies have also found that naturally leavened bread tends to produce a gentler rise in blood sugar than bread raised quickly.
We bake with organic flour and a live sourdough starter, and nothing else does the lifting. That long, slow wild yeast fermentation is the whole point: it is what gives the loaf its flavour, its keeping quality, and its reputation for being kind to the gut.
THE RECIPE
Ingredients
- 120 g sourdough starter (active, bubbly)
- 450 g bread flour
- 50 g whole wheat flour
- 300 g water (room temperature)
- 2 tbsp salt
Instructions
- Mix the dough: Combine the starter, water, bread flour, and whole wheat flour in a large bowl. Stir until no dry flour remains. Cover and let rest for 30 minutes (autolyse).
- Add salt: Sprinkle the salt over the dough and work it in using the pinch-and-fold method until fully incorporated.
- Stretch and fold: Over the next 2 hours, perform 4 sets of stretch and folds, spaced 30 minutes apart. Pull one side of the dough up and fold it over the center, rotating the bowl a quarter turn. Repeat 4 times per set.
- Bulk ferment: After the last set of folds, cover the bowl and let the dough rise at room temperature for 3–4 hours, or until it has grown by about 50% and looks puffy with bubbles on the surface.
- Shape: Turn the dough out onto a lightly floured surface. Gently shape it into a round (boule) by folding the edges toward the center, then flipping it seam-side down. Use your hands to create surface tension by dragging the dough toward you.
- Cold proof: Place the shaped dough seam-side up in a floured banneton or bowl lined with a floured towel. Cover and refrigerate for 12–18 hours.
- Bake: Preheat your oven to 500°F with a Dutch oven inside for at least 45 minutes. Turn the dough out onto parchment paper, score the top with a sharp blade, and carefully lower it into the Dutch oven. Bake covered for 20 minutes, then remove the lid and bake at 450°F for another 20–25 minutes until deep golden brown.
- Cool: Let the loaf cool on a wire rack for at least 1 hour before slicing — this lets the crumb finish setting.
TIPS FOR SUCCESS
Test your starter before you mix. Drop a small spoonful into a glass of water — if it floats, it is at peak and ready to raise a loaf. If it sinks, give it a few more hours.
Judge the bulk ferment by the dough, not the clock. You are looking for roughly 50% growth, a domed surface and bubbles. A warm kitchen gets there faster than a cool one, so 3–4 hours is a guide rather than a rule.
Do not skip the cold proof. Overnight in the fridge deepens the flavour and firms the dough, which makes it far easier to score cleanly and gives you a better rise in the oven.
Preheat the Dutch oven properly. A full 45 minutes at temperature. The trapped steam in those first 20 covered minutes is what produces the oven spring and the blistered crust.
STORAGE
Keep the loaf cut side down on a board or in a paper bag at room temperature and the crust stays crisp — it will be good for two to three days. For anything longer, slice it first and freeze, then toast straight from frozen. Avoid the fridge, which stales bread faster than the counter does.
FREQUENTLY ASKED QUESTIONS
Can I use all bread flour?
Yes — swap the 50 g of whole wheat for the same weight of bread flour. The whole wheat feeds the fermentation and adds a little depth of flavour, so without it you may find the crumb slightly milder.
How do I know my starter is ready?
It should have roughly doubled, domed on top, and be visibly bubbly, smelling tangy and yeasty rather than sharp. The float test above is the quickest confirmation.
Why is my crumb dense?
Almost always an under-fermented bulk rise, or a starter that was not at peak when it went in. Go by how the dough looks and feels rather than by timing, and give it longer if your kitchen is cool.
Can I bake without a Dutch oven?
You can. Use a baking stone or a heavy tray with a pan of water on the shelf below to create steam for the first 20 minutes. The crust will be a little less dramatic but the loaf will be very good.
Made this recipe? We'd love to see it!
Share your bake on Instagram and tag us so we can celebrate with you.
Tag your photos with #GratefulBreadSCV

Leave a Reply